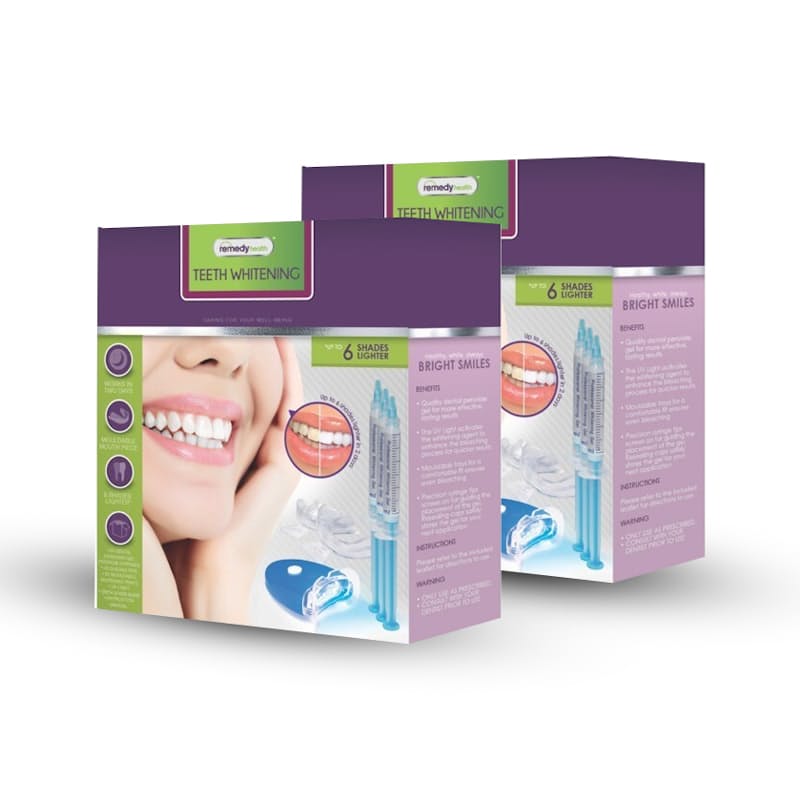
Remedy Health2x Professional Teeth Whitening Kits
R379
About
A super bright smile, in two week's time, awaits you!
Remedy Health Teeth Whitening you can easily give your teeth a high quality professional dentist-grade whitening treatment in the comfort of your own home.
Precise instructions will allow you to shape the provided mouth trays to fit your teeth perfectly. Following this, the whitening procedure consists of 3 simple steps and will take you as little as 15 minutes to do. The whitening gel consists of approved dental-grade ingredients with optimized PH levels to minimize sensitivity.
Follow the whitening procedure twice a day for 7 days with a rest day in between. Expect great results!
What's in the box?
- 3 x Professional whitening gel syringes with dispersion tips
- Two thermo-plastic mouth trays
- Battery-powered LED light – Batteries included
- Tooth colour shade guide
- Instructions leaflet
Gel Composition
- 70% Glycerine
- 19% Deionized Water
- 5.5% Carbopol
- 3% Triethanolamine
- 2.5% Sodium Perborate
Instructions
Step One: Shape your mouth tray
Before your first treatment, you must first shape your thermo-plastic mouth trays to the top and bottom parts of your mouth. The thermo-plastic responds to hot water.
- Fit the tray on your teeth.
- Discharge the air between the tray and your teeth by sucking – repeat this action several times.
- To soften the tray, boil water and pour into a flat bottom container – allow the water to cool for 1.5 minutes.
- Submerge the first tray into the water holding it by its grip handle for 7 seconds maximum.
- Swiftly remove the tray from the water, let excess water fall away, place it on your teeth and repeat the sucking action. (Do not bite the mould)
- Gently press the tray down on your teeth with your finger tips to remove any excess air for 15 seconds.
- Remove the tray from your mouth and place in cool water for about 10 seconds, allowing the tray to set.
- Cut the grip handle off, as well as any edges that might cause discomfort in your mouth.
- Do the same with the second tray, using fresh water.
Step two: Whiten your teeth
- Brush your teeth with good fluoride toothpaste.
- Remove the cap from one syringe and apply the gel to the tray, focusing on the front part that will touch your visible teeth.
- Gently apply the tray to your teeth and secure tightly.
- Do the same for the second tray. (Do not remove and reapply trays during the whitening procedure)
- Switch the LED light on and secure it tightly against your mouth trays and fold your lips around the outer rim to hold the light in place.
- Wait 15 minutes.
- Remove the light and the mouth trays and brush your teeth gently
For best results:
Keep the mouth trays on for a further 45-60 minutes after having removed the LED light.
Safety Precautions
- Should you experience gum irritation – be sure to use less gel in your application to avoid contact with your gums during your next whitening session. Note that sensitivity caused is temporary and not harmful.
- Do not eat or drink food with strong colouring, such as coffee, for two hours following treatment.
- Do not smoke for two hours following treatment.
- Do not allow unsupervised children to use the kit.
- Do not use if you are pregnant or lactating.
- Avoid at all cost if you are suffering from gum disease or other gum problems.
- Should the gel come into contact with you skin, rinse of with warm soapy water.
Storage & Expiry
- Store your syringes in a cool dry place.
- Gel can be stored and used for 2 years since manufacturing.
Talk about Foam-o
Cast your mind back to a fad of yesteryear, one that took its inspiration from the bubble bath--without the comfort or any of the cleanliness.
That's right, the foam party! On the surface, it seems like a pretty fun gimmick, right? But upon closer inspection, filling a dance floor with soapy suds is the fastest way to increase the likelihood of slipping and embarrassing yourself in front of your crush. Trust us, coming back up with a frothy beard does nothing to hide the shame!
Foam parties may have been a gimmick, but our deal on Colour Corrector Foam Toothpaste from Beautiful Smile is anything but! Get results that shine brighter than your moves on the dance floor.


